Wooting 60HE v2 disassembly guide
What this guide covers
We will walk through how to remove the module from the case and fully disassemble it into individual parts. If you plan on swapping components on your 60HE v2, including the switch plate, stabilisers, or sandwich pad, this guide has you covered
Useful/Necessary Tools
Useful tools:
While not neccery these can make removing the module from the case an easy process
- Module Puller
- Keycap puller
Necessary tools:
To take apart the module, you will need.
- PH1 screwdriver

Removing the Module from the case
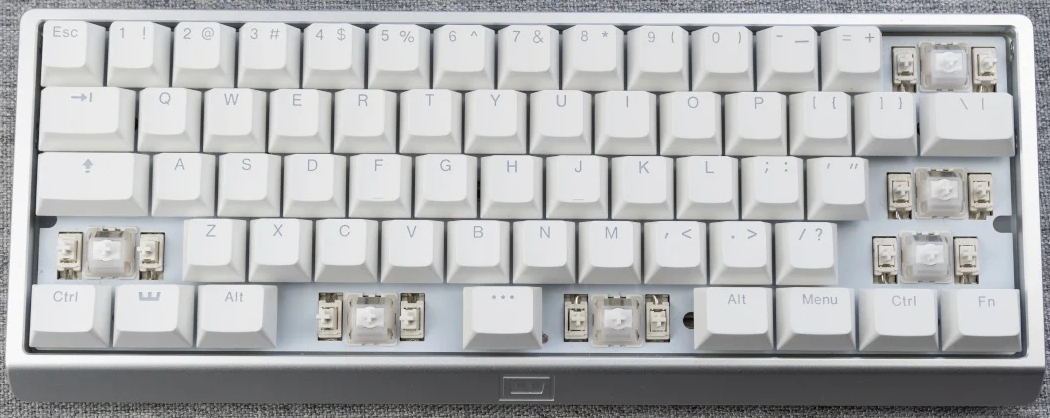
- Removing the keycaps With a keycap puller or other tool Remove the spacebar and right-alt keycaps (use the right-spacebar if you’re on a split layout).
- Then, take the PCBA puller tool, hook it into the exposed hole.
- Gently pull the module out of its case.

Unscrewing the module and separating the layers
-
Remove the following keycaps.
This will allow the switch plate to be easily separated.
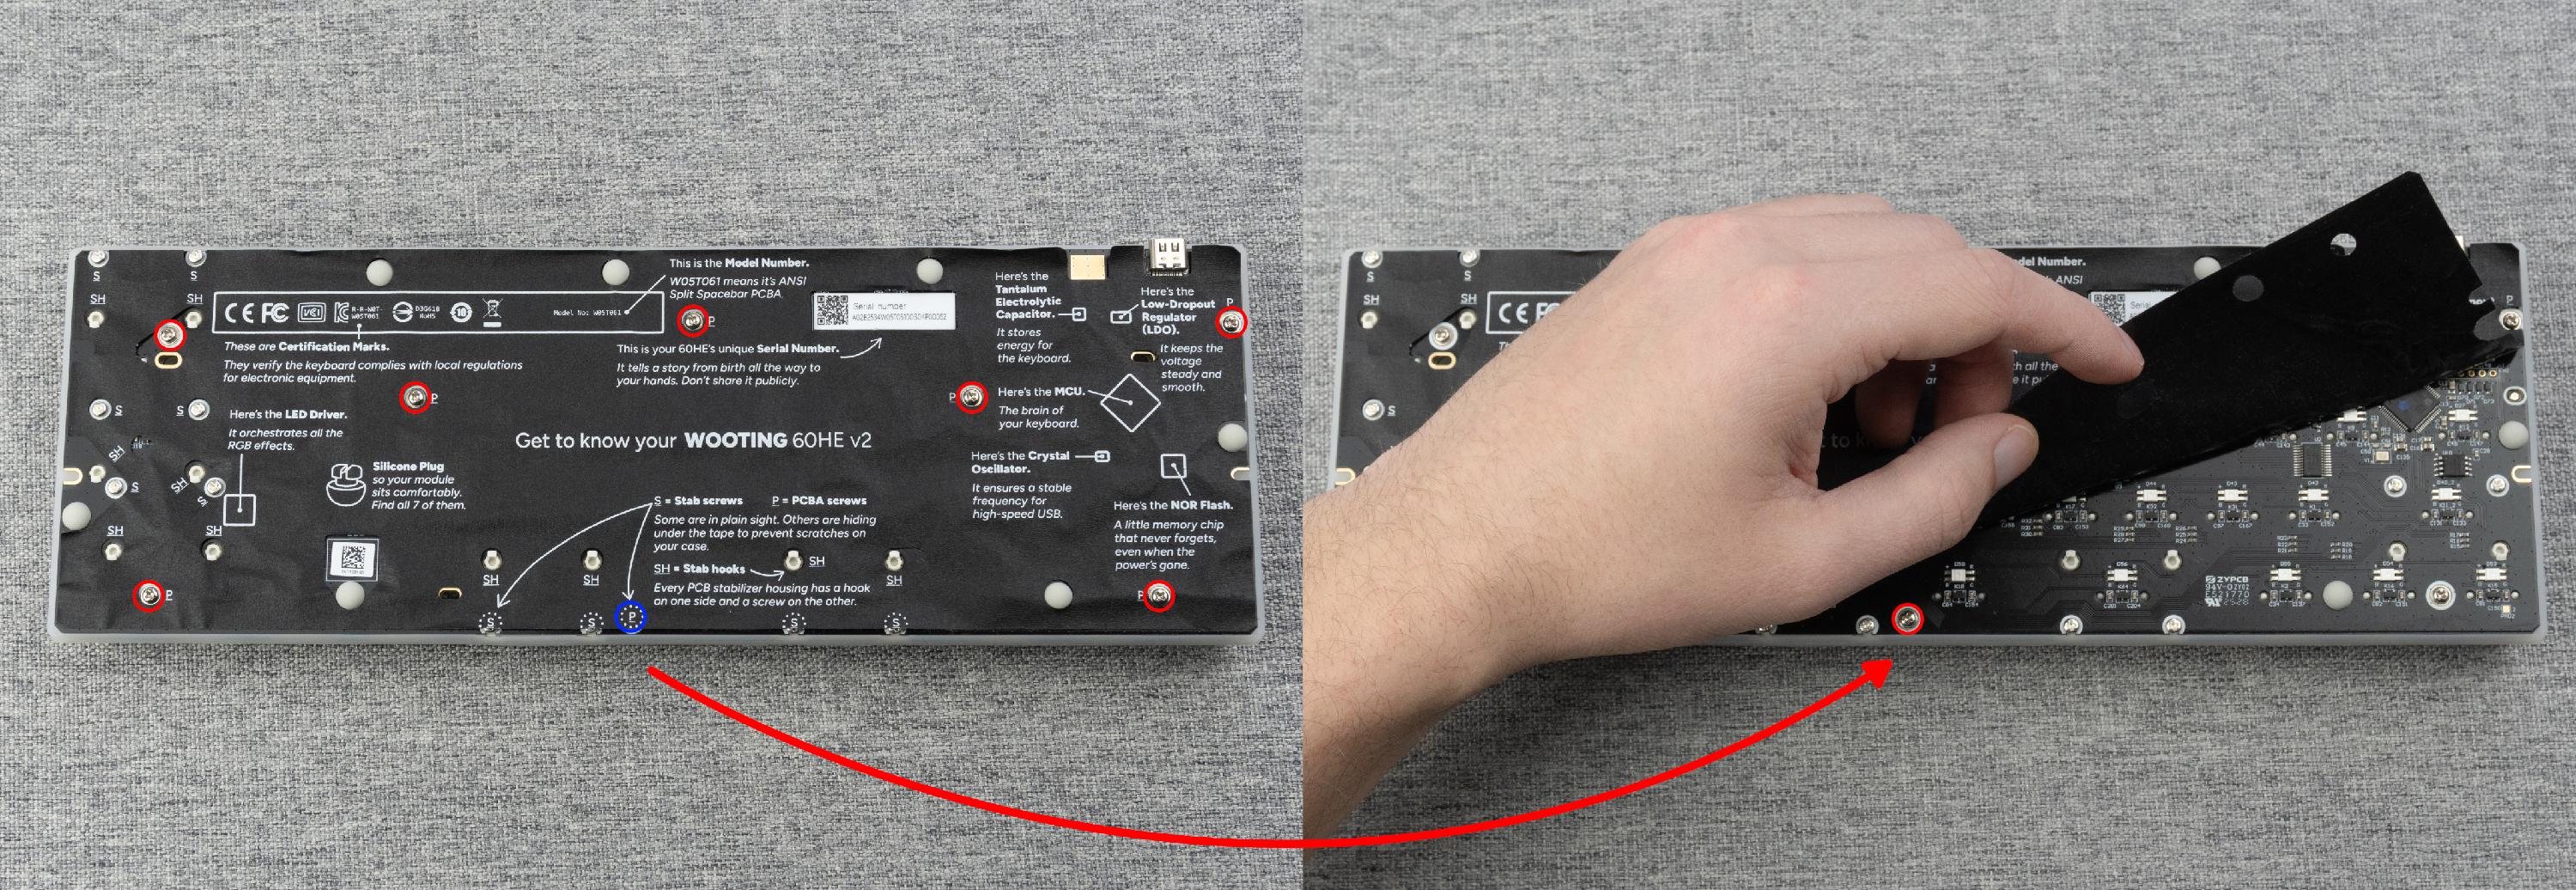
- Flip the module over to view the underside.
- Remove the 8 screws holding the module together.
-
One screw is hidden underneath the tape mod. marked as (P) on the tape.
Partially peel back the tape to access it.
-
-
Gently lift the back of the module to separate the layers.
If the layers do not separate easily, double-check that all 8 screws have been removed.
- Once separated, this will allow you to easily swap out or remove any of the following:
- Switch plate
- Sandwich material
- PET film


Removing the stabilizers
Be sure to follow the steps above to unscrew the module and separate the switch plate, as this will make the process of removing the stabilizers easier.
-
Unscrew the 10–12 stabilizer screws indicated in the image below.
Some of these are concealed beneath the tape mod, so carefully peel it back to access them.
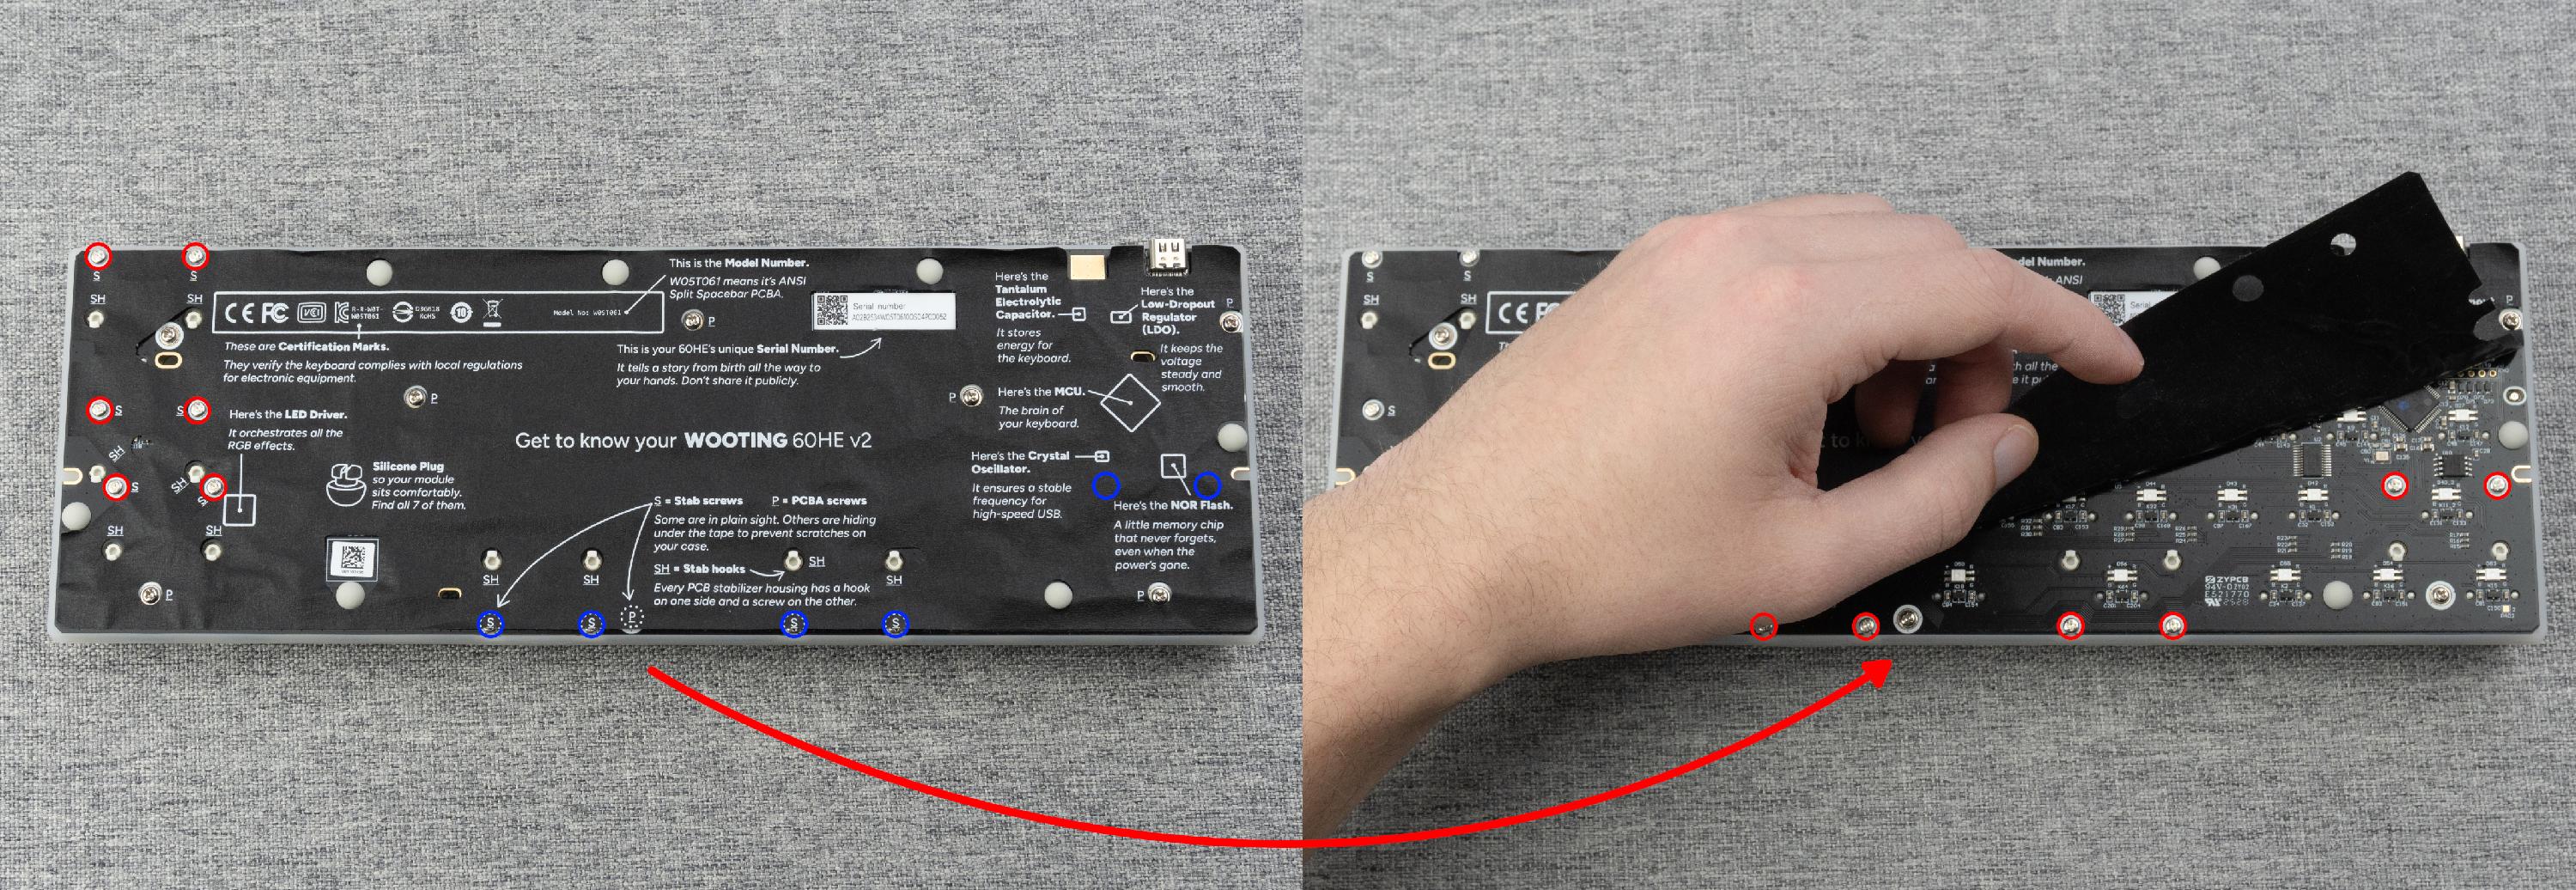
- The stabilizers have a hook that keeps them attached. Gently tilt the stabilizers from the side with the screw and lift them up.
